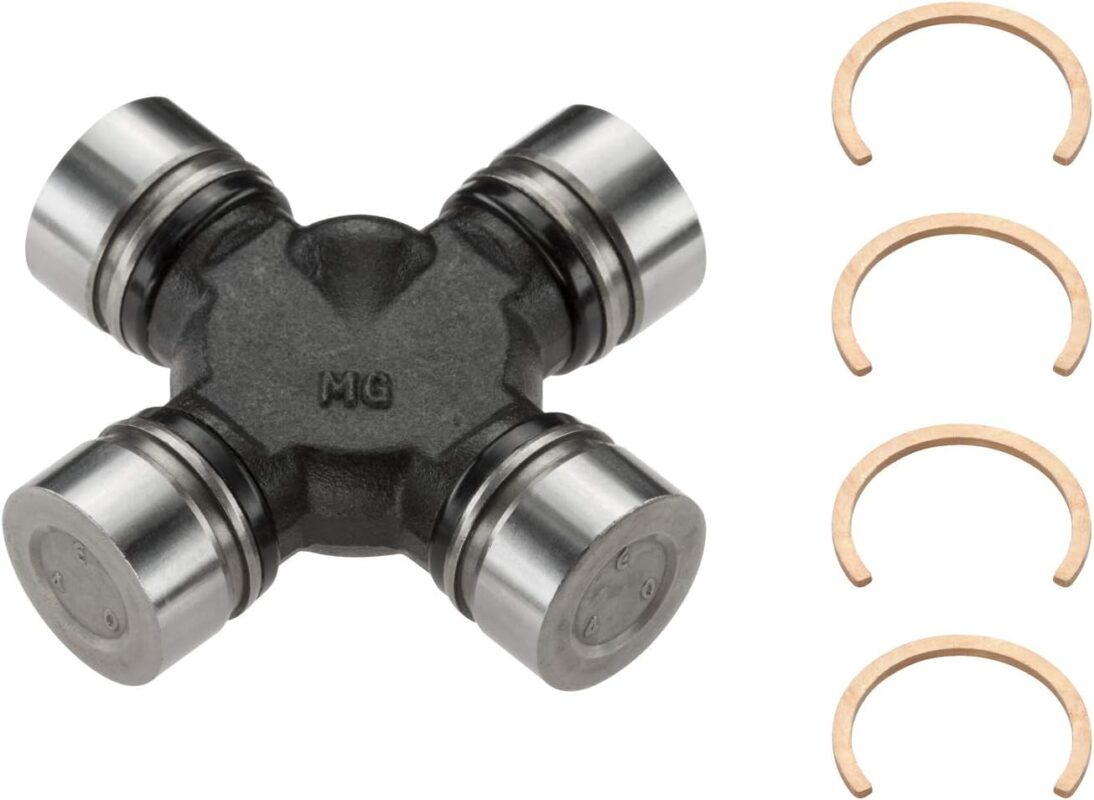
How to Replace a Faulty Universal Joint – Step-by-Step Guide.
Table of Contents
Preparation
Before starting, ensure you have the following:
- New universal joint.
- Socket set and wrenches.
- Hammer.
- Penetrating oil.
- Jack and jack stands.
- Safety glasses.
Step 1: Raise and Secure the Vehicle.
- Park the vehicle on a flat surface and engage the parking brake.
- Jack up the vehicle and support it securely with jack stands.
- Release the parking brake to allow the wheels to rotate freely.
Step 2: Remove the Driveshaft.
- Mark the driveshaft’s position relative to the differential and transmission for proper reinstallation.
- Remove the bolts connecting the driveshaft to the differential.
- Carefully lower the driveshaft and pull it away from the transmission.
Step 3: Remove the Old U-Joint.
- Remove the snap rings or retaining clips holding the U-joint in place4
.
- Use a socket slightly smaller than the U-joint cap diameter.
- Place the socket on one cap and tap it with a hammer to push the opposite cap through the yoke4
.
- Repeat for the other side until the U-joint is free.
Step 4: Clean and Inspect.
- Clean the yoke bores with a wire brush or sandpaper3
.
- Inspect for any damage or wear that might affect the new U-joint.
Step 5: Install the New U-Joint.
- Position the new U-joint in the yoke.
- Use a socket slightly larger than the U-joint cap to press each cap into place5
.
- Ensure the caps are pressed in evenly and completely.
- Install new snap rings or retaining clips.
Step 6: Test and Lubricate.
- Check that the U-joint moves freely without binding.
- If it’s stiff, lightly tap the yoke with a hammer to settle the bearings3
.
- Apply grease to the U-joint if it has grease fittings.
Step 7: Reinstall the Driveshaft.
- Align the driveshaft with your earlier markings.
- Reattach the driveshaft to the differential and transmission.
- Tighten all bolts to the manufacturer’s specifications.
Final Steps.
- Lower the vehicle.
- Test drive to ensure proper operation and listen for any unusual noises.
Remember, if you’re unsure about any step, it’s best to consult a professional mechanic. Proper installation is crucial for safety and performance.
See our range of industry standard universal joints for your replacement

